Rainy Street Lamp with Three.js
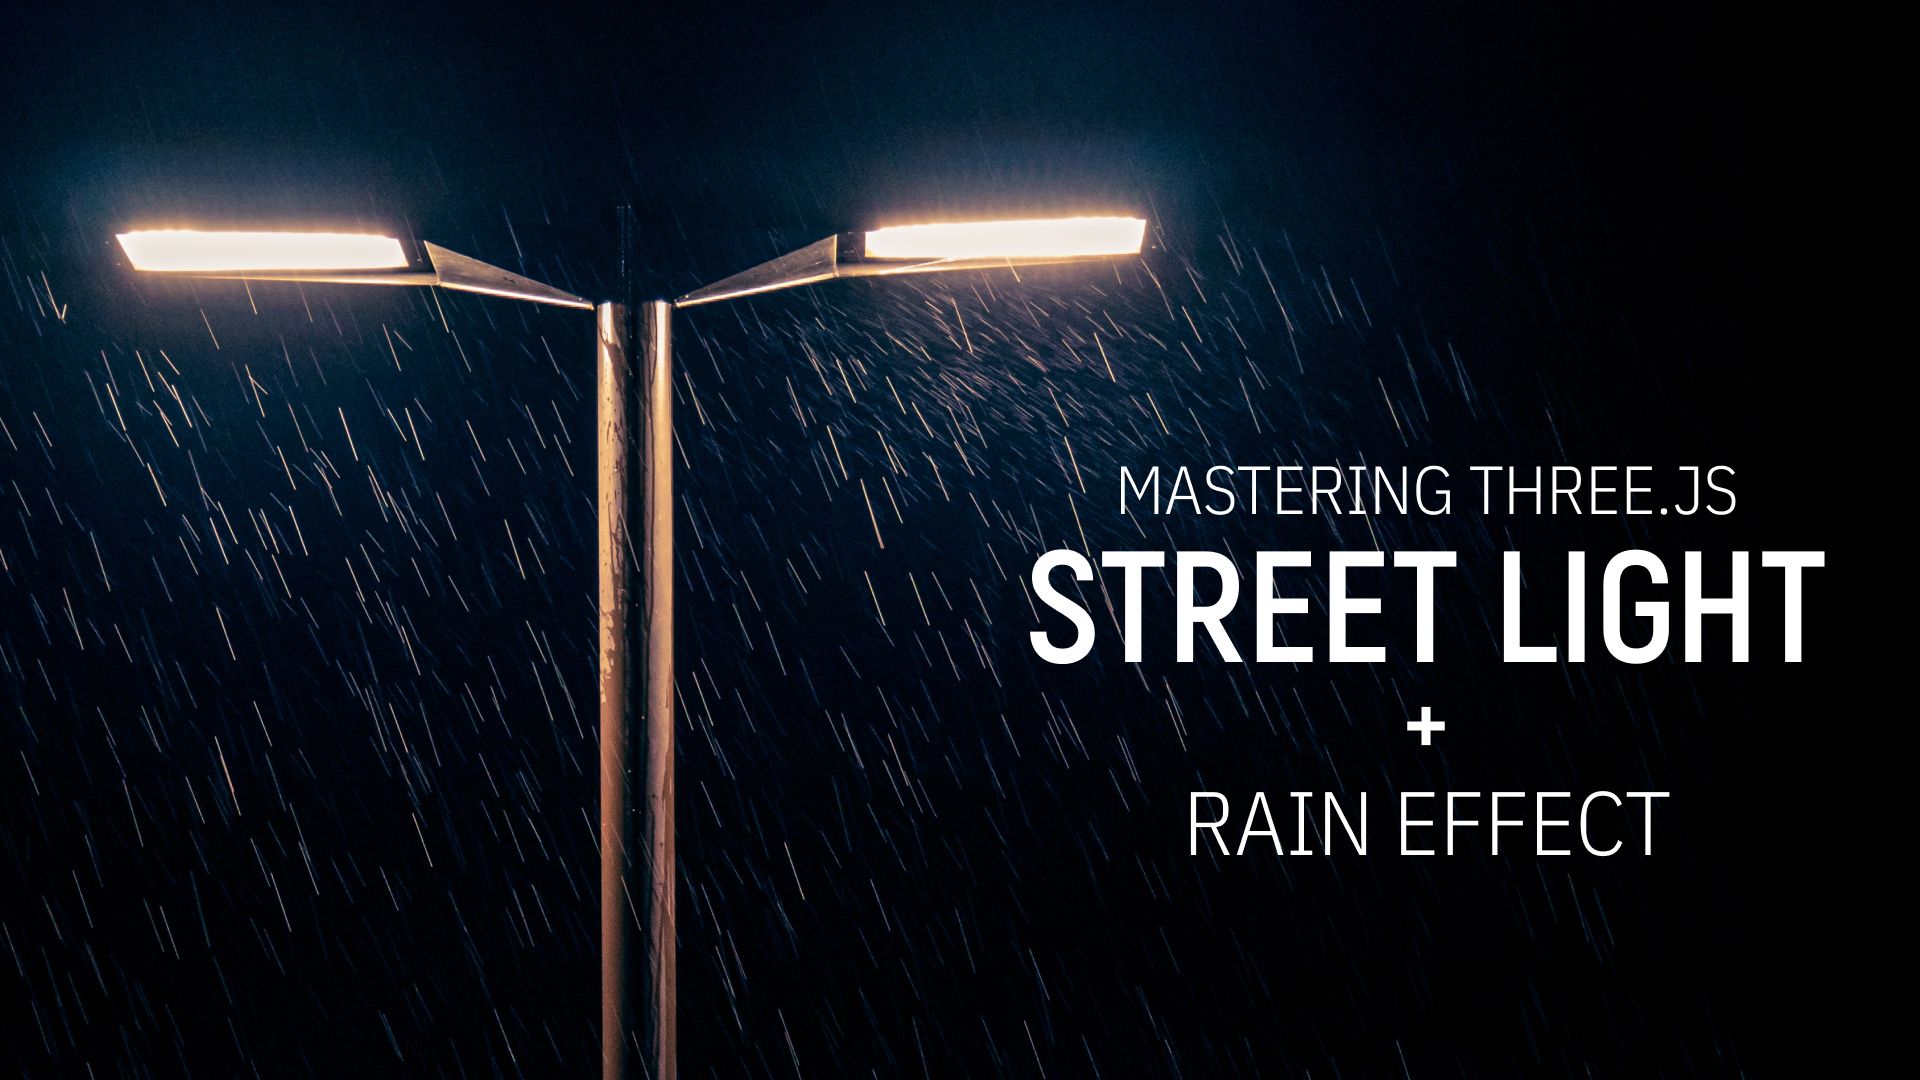
The Bloom Pass and Rain Effect are two powerful and versatile tools in the world of Three.js, a popular library for creating 3D animations and web-based virtual environments. Three.js is built on top of WebGL and makes it easy for developers to create complex and engaging 3D scenes with just a few lines of code.
The Bloom Pass is a post-processing effect that simulates the bloom effect seen in many video games and films. This effect creates a bright, halo-like glow around bright objects in the scene, giving them a more pronounced and noticeable presence. It can be used to add a sense of realism to a scene, as well as to bring attention to important objects or characters.
The Rain Effect, on the other hand, is a particle system that allows developers to add realistic raindrops to a scene. With the Rain Effect, it's possible to create a wide range of different rain scenarios, from a light mist to a heavy downpour. The effect can be customized in various ways, such as changing the size, speed, and color of the raindrops, to match the desired aesthetic.
Today, we will be exploring these two features in detail, including how to implement them in your Three.js projects and how to customize them to fit your needs. Whether you're a seasoned Three.js developer or just getting started, these tools can help you take your scenes to the next level. So, let's get started!
Dependencies
In this project, several dependencies are used to create the Bloom Pass and Rain Effect in Three.js. These dependencies include:
- Three.js - Three.js is the primary library used in this project. It provides the tools necessary to create 3D scenes, animations, and effects in the browser.
- Meshline - Meshline is a library for creating thick, animated lines in Three.js. It is used to create the raindrop particles in this project.
- Seed-Random - Seed-Random is a library for generating random numbers. It is used to create the randomness in the particle generator and updater.
- Tweakpane - Tweakpane is a library for creating control panels and customizing parameters in real-time. It is used to create the tweakable parameters in this project.
- d3-ease - d3-ease is a library for easing and tweening in animations. It is used to create the animation curves in this project.
- Matter.js - Matter.js is a library for physics simulations. It is used to simulate the physics of the raindrops in this project.
- Simplex-noise - Simplex-noise is a library for creating procedural textures and animations. It is used to create the randomness in the raindrop animation.
These dependencies are all included in the imports section of the project and can be easily installed via a package manager like npm. By using these libraries, the project is able to create a more complex and dynamic rain effect, and to create a tweakable Bloom Pass that can be adjusted in real-time.
Why we are importing script.js as type="module"?
The reason for importing the script as type="module" is because the script uses ECMAScript modules, which are a standardized way to organize and share JavaScript code. When a script is imported as a module, it is loaded and executed in a separate scope, which helps to prevent naming conflicts and to promote modular code organization.
In addition to these benefits, modules also provide a way to import and export values and functions between scripts, which is essential for sharing code between the different components of a project. By importing the script as type="module", we are ensuring that the code is loaded as a module and can be used to import and export values as needed.
Furthermore, the use of modules helps to ensure that the code is compatible with modern JavaScript standards and best practices, and makes it easier to maintain and update the code over time.
Implementing the Bloom Pass in Three.js
Implementing the Bloom Pass in Three.js is a straightforward process, and there are a few different ways to go about it. The simplest method is to use one of the many Bloom Pass shaders available online. These shaders are pre-written code snippets that can be easily added to your Three.js scene.
Here's a step-by-step guide to adding the Bloom Pass to your scene:
- First, you'll need to set up a render target and a render pass for the Bloom Pass. The render target will be used to store the intermediate results of the bloom effect, while the render pass will be used to apply the effect to the scene.
- Next, you'll need to add the shader material to your scene. This material will be applied to your objects, and will determine how they appear when the Bloom Pass is applied.
- Once the material is in place, you'll need to set up the render pass. This pass should be added after the normal render pass and before the final render pass. In the render pass, you'll need to specify the shader material and the render target, as well as any other parameters you want to use to customize the effect.
- Finally, you'll need to render the scene and display the results. This can be done by rendering the scene to the render target, and then displaying the contents of the render target on the screen.
With these steps, you should have a basic implementation of the Bloom Pass in Three.js up and running. However, there are many different shaders and techniques that can be used to customize the effect, so feel free to experiment and see what works best for your project.
Implementing the Rain Effect in Three.js
To add the rain effect in Three.js, the first step is to create a cylinder geometry that will represent the raindrop particles. This is done by creating an instance of the THREE.CylinderGeometry class and defining its properties, such as height, radiusTop, radiusBottom, and radialSegments.
Next, the CylinderGeometry is extended with a MeshLambertMaterial, which is used to set the appearance of the raindrop particles. This material class defines properties such as color, emissive, and shininess.
After that, a ShaderMaterial is added to the raindrop particles to animate them using GLSL. The ShaderMaterial allows us to define custom shaders, which are small programs that run on the GPU and control the appearance of the raindrop particles.
Once the CylinderGeometry, MeshLambertMaterial, and ShaderMaterial have been defined, we can create a function called initRain. This function is responsible for defining the properties of the raindrop particles and setting their initial conditions.
With the help of the initRain function, we can define the wind speed, wind direction, and wind variation of the rain. These properties control the motion of the raindrop particles and determine how they move and behave over time.
By using the CylinderGeometry, MeshLambertMaterial, ShaderMaterial, and initRain function, we are able to create a dynamic and realistic rain effect in Three.js. The rain effect can be adjusted and customized to suit the needs of the project by changing the properties of the cylinder geometry, MeshLambertMaterial, and ShaderMaterial, as well as the parameters defined in the initRain function.
Conclusion
In conclusion, the Bloom Pass and Rain Effect are two powerful features in Three.js that can add a high level of realism and depth to 3D scenes. The Bloom Pass allows us to enhance the brightness and clarity of bright objects in the scene, while the Rain Effect provides a dynamic and realistic simulation of raindrop particles.
To implement the Rain Effect, we first create a cylinder geometry to represent the raindrop particles. This geometry is extended with a MeshLambertMaterial and a ShaderMaterial to animate the rain using GLSL. We then create an initRain function to define the properties of the raindrop particles and set their initial conditions.
These features demonstrate the flexibility and versatility of Three.js and its ability to create immersive and interactive 3D scenes. By combining the Bloom Pass and Rain Effect, we can create stunning and dynamic 3D environments that engage and captivate audiences.
Blog Article From Professional Three.js Course
Professional Three.JS Course
With our expert instructors and hands-on exercises, you'll gain the skills and knowledge you need to create professional-quality 3D models and animations. You'll also learn how to optimize your models for performance and compatibility, and how to use three.js to create interactive and immersive experiences.